
The full set of links to all steps is at the bottom of this post.
OK - so I am a day or two late again - I could give you excuses about a kid who keeps throwing up at night (in my sewing and blogging time!) and having no camera but let's just get stuck into it.
For those who aren't sure of how this sewalong came about here's a little run down.
Lovely Sheridan organised Sew It Together in Sydney earlier this year.
During this time we visited the amazing Prints Charming studio and many of us left with a pack filled with gorgeous printed panels, and plans to replicate this gorgeous skirt as worn by Kirsten at the studio.
 |
| The skirt everyone wanted! |
From this beginning we hatched...
THE PLAN
Using the Sew What Skirts book we would draw up a pattern suited to our own shape and size and make ourselves a Prints Charming skirt.
That said, this sewalong is open to everyone - so please leave a comment so I know you are joining in - and grab yourself a button to add to your blog.
You can make your skirt up using any fabric scraps you like - or do it 'straight up' - with no scrap panels, just using your favourite fabric.
First off - you need to make a few decisions about the skirt you want to make.
What style of skirt?
- Straight or A-line are generally the chosen two.
- A-lines are flattering to most figures whereas straight skirts are often more comfortable for less curvy ladies!
What type of waist do you prefer?
- You can have a basic elastic casing with elastic threaded through - make sure you add length to the top of your skirt to accommodate the casing if you are going to do this.
- A fitted waist with a facing on the inside to finish it.
- A fitted waist with a bias trimmed edge at the top and no internal facing.
- Or you could add a waistband to the top of the skirt if you prefer it to sit a little higher.
 |
| A facing on the inside finishes the garment off nicely |
- This is just a personal preference thing - it can essentially be at the side or the back.
- If you are putting it in at the side you cut two identical skirt pieces.
- If it's going in at the back you cut one piece on the fold which becomes the front of the skirt then you cut two pieces not on the fold with added seam allowance along the centre edge so you can sew them together as you put the zip in.
What sort of hem do you want to do?
- You can do a basic turned under hem, folding the fabric under twice and then stitching close to the upper edge.
- A bias trimmed hem showing the bias on the outside of the skirt like this one:
 |
| Bias trimming on the outside can be an added feature |
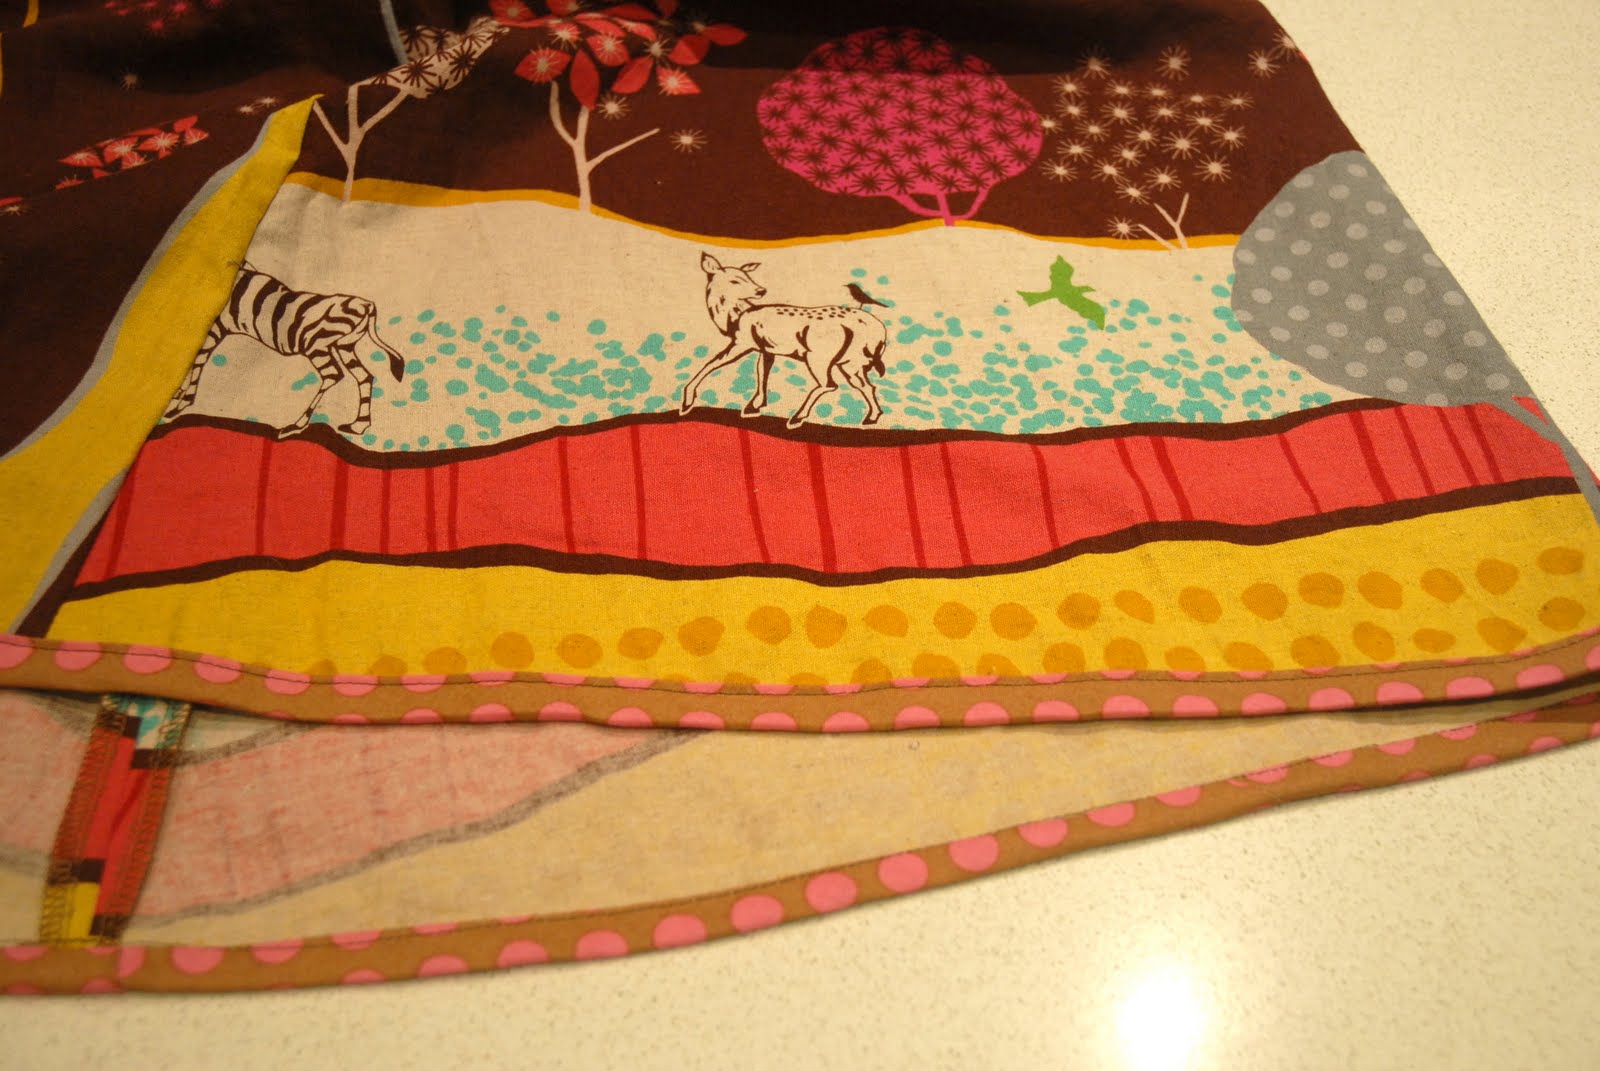
- Or a bias trimmed skirt with the bias on the inside.
 |
| Bias trim on the inside makes the hem neat and adds a splash of colour too |
After considering these options I am going to do a sewalong for the following skirt:
- A-line
- Quite long - my pattern is 72 cm long (about 28.5 inches) along the folded edge
- A side zip - on the left because that's where I prefer it.
- Inside facing - mine is 10cm long (4 inches)
- With a bias trimmed hem - not sure if this will be on the inside or outside yet - but it won't make a difference to the pattern anyway.
If you want to follow a design in the book mine, will be a longer version of the Meandering Vines skirt on pages 50-53.
Once you have made these decisions fill in the table on page 17 in the book to get the measurements you need to draw up your pattern.
I won't go into the fine detail of this as I feel that's the purpose of having the book and the publishers might not love it if I reprint the entire thing here!
It should look like this though:

I've written on the pattern the details that I included a 2" ease at the waist and a 3" ease at the hips.
Don't forget to add seam allowances as instructed, there are different measurements for this according to whether you are doing a fitted or elastic waist so read the instructions carefully.
You should be able to see the following numbers marked on my pattern above:
- at the top on the left hand side on the curved solid line
- ABOVE the 1 - on the dotted line
- on the left part way down the pattern on the dotted line
- down near the hem
- where lines 1 and 2 meet
- at the other end of the dotted line to 3
I hadn't marked it yet on this pattern, but the side where numbers 1, 2, 3 and 4 are is the fold line, make sure you mark it.
Cut this out along the solid line and you have your finished pattern.
I will also say - TRUST THE MEASUREMENTS!
I felt my finished pattern was not big enough for me so added extra to it as I cut the fabric - and then took all the extra out as I sewed it up!
If you have any questions about the process of making the pattern up please feel free to email me or leave a comment.
FACE UP!
Now make up the facing:
Place a piece of tracing paper on top of your main skirt pattern.
Working from the curved line that is the top of the skirt waistband, measure down 10cm and make a mark at several places across the pattern.

Then join the dots together to make a line.
Also mark both the side lines and the curved top edge that make up the facing.

Place the tracing paper onto some card and draw the lines in texta so it goes through onto the pattern card.
Card is a lot easier to cut around when you are going to use a pattern multiple times.

This is what you end up with:
Don't forget to mark the fold line.

So here's what you end up with - a skirt pattern and also a facing that fits the shape of the top of the
skirt.

To move on and finish this skirt you will need your fabric, basic sewing supplies such as thread and scissors and a zip that is 18-20cm long.
Some of you may have already come this far in doing your homework prep so I will post again tomorrow morning with instructions for making up the panel.
See you then!
EDIT
You'll find part two here - Preparing the feature panel and cutting the pieces
Part three is putting in the zip
Part three is all about the facing
And the final part is all about how to finish the skirt off - the hem
And here are a few skirts other girls have finished, for inspiration, here and here and here and here!
They are popping up everywhere!


5 comments:
Can I join in. Don't have the book, would I be able to use another pattern????
Can I join in. Don't have the book, would I be able to use another pattern????
I admire people like you who can create a pattern. I have been sewing forever and still can't draw one from scratch...I can alter a pattern, but thats about it.
Keep up the awesome work!
I've started mine now. I am doing a denim one to start off with and then I have some Echino. I wish I had a lovely scrap pack from Prints Charming.
Have you considered doing a Flickr Group?
Can I join in please? I have this book somewhere..under a pile of fabric...:)
Post a Comment