
All OK I hope??
Ready to move on?
Let's get stuck into making up the fabric panel that we will cut the front of the skirt from.
Just to clarify - the front is the pretty stuff - the Prints Charming panel for my skirt.
The back of mine is just going to be plain denim.
To work out how big to make your panel, measure a straight line across your pattern from the widest point of the flare of the skirt to the straight edge of the fold line.
Mine measured 44cm so I need a panel that is at least 88cm wide at the bottom to fit the pattern piece.

Lay the fabrics out on the floor and have a play with the layout of them...

Until you get something that you like...

And that will fit your pieces.
Lay the pattern piece on every so often to see how you're going.

Once you're happy start piecing them together.
Taking a photo of the layout at this point is actually quite handy to refer to as you go.
First I joined the two red pieces at the bottom.
I prefer to overlock these as I think it gives a nice clean finish on the inside.
Press the seams to one side as you go.

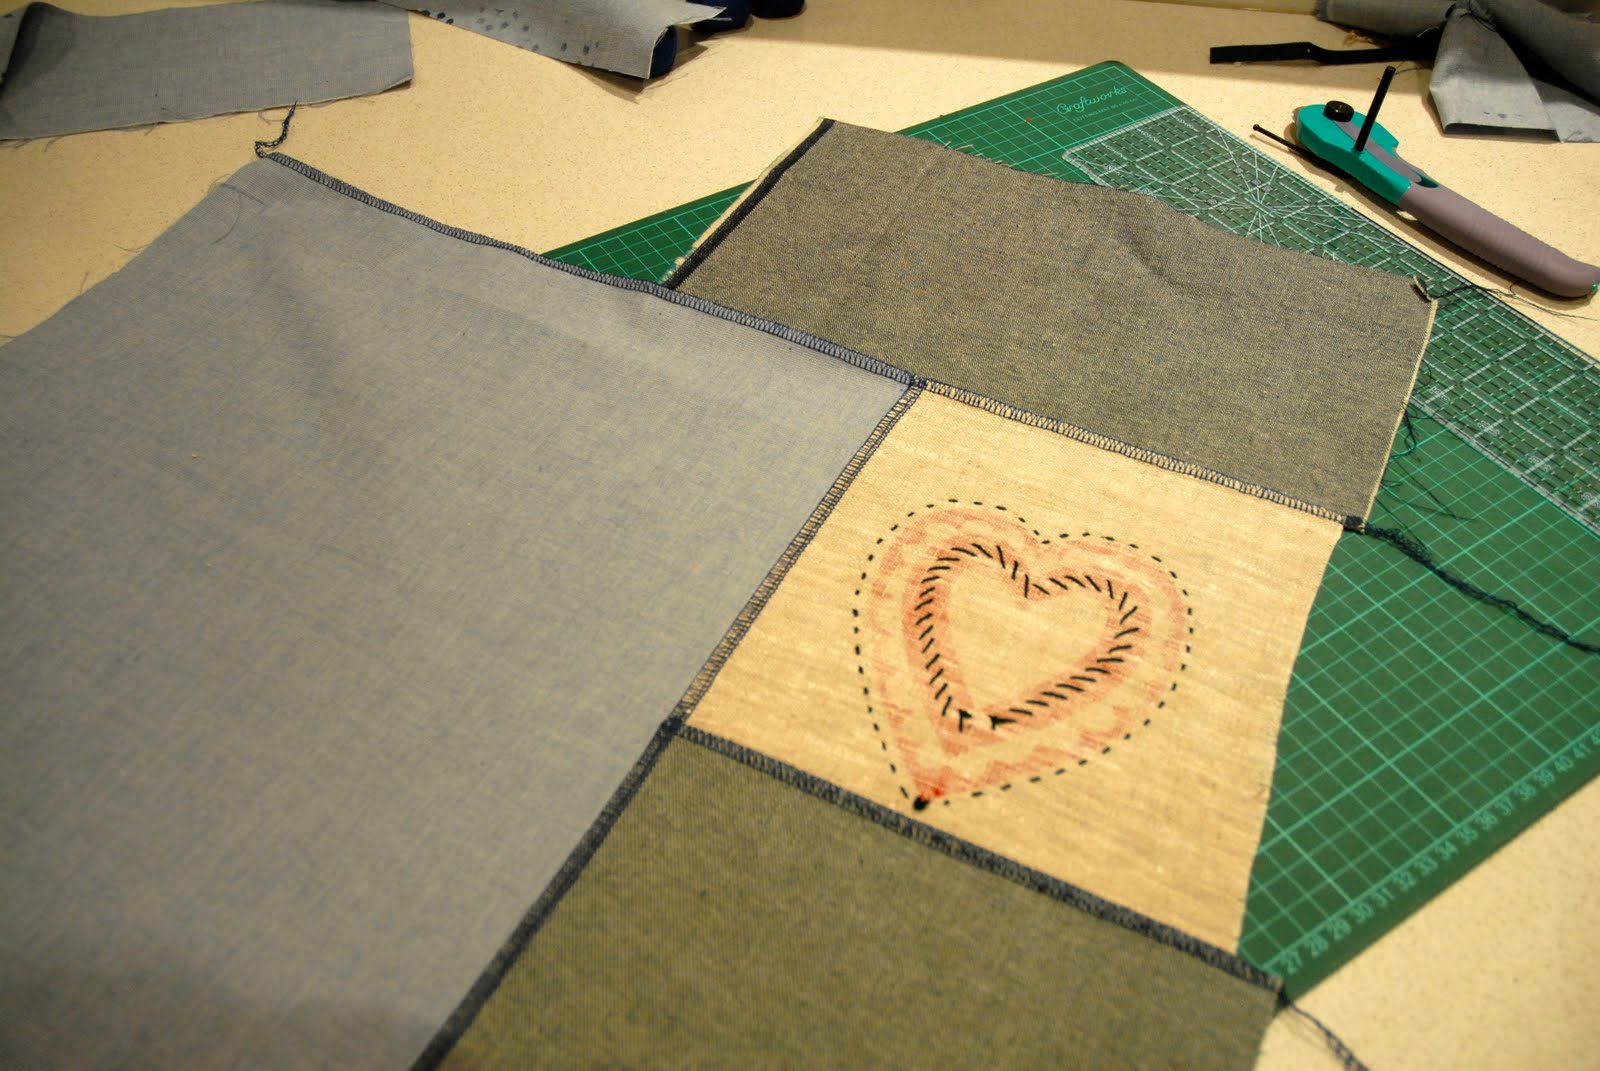
Next I joined the little bird to the heart.

And trimmed the edge so I could add the next piece.
I decided I wanted some topstitching late in the process - really if you want to topstitch do it now, before you add the next piece.
This way the backtacked ends will be concealed in the seamlines and it will have a neat finish.

Then I added the blue whirligigs...

And another smaller piece at the top.
Remember that the top won't need to be as wide as the bottom because the skirt is much narrower at the waist.

Here's what it looks like on the back...
Then I added the big blue circular starburst piece to the side and joined all that top 'blue' section to the red striped pair at the bottom.
I offset the bottom seamline slightly because I think it looks better that way, not just a long straight line down the centre front.
If you wanted to, you could wait til this point to do topstitching by hand, like on Kirsten's skirt in the last post.

Now to cut!
Fold your fabric in half, I chose to do it along the seamline so this seam will run down the centre front of my skirt

Lie your fabric on top, making sure there is enough underneath to ensure the entire pattern is on some fabric, and away you go!

If you are doing a side zip - then cut the back on the plain piece of fabric in exactly the same way.
So you end up with one large piece for the front and another large piece for the back.
If you are doing a back zip - cut two single pieces (not on the fold), but be sure to add a seam allowance along the straight edge marked as 'fold'.
You'll need this to join the pieces together later.
Refer to the book if you are not sure.
Once you've cut your pieces out, overlock (or do the finish of your choosing) along the side edges of both pieces.
Don't do the top and bottom of the skirt.
OK - you're doing well!
Now come on back soon for instructions on inserting the zip - trust me - it's easy and I will include lots of photos.
Click here to go straight to the post about zipping it!


2 comments:
I am not making a skirt, but your instructions are fantastic, and I just had to say so♥
Looking good Karen. I have a big pile of denim and some lovely scraps as well as the necessary book, I will be joining in, even if a little late....
I like the original skirt, but I do prefer the larger pieces and simpler colour palette you are using. It's going to be a great skirt :)
Post a Comment