How’s your panel looking??
If you need to catch up you can check out the first two posts here:
Part One - Getting started - deciding what to make and making the pattern
Part Two - Preparing the feature panel and cutting the pieces
When you finished cutting you should have ended up with something that looks like this.
If you need to catch up you can check out the first two posts here:
Part One - Getting started - deciding what to make and making the pattern
Part Two - Preparing the feature panel and cutting the pieces
When you finished cutting you should have ended up with something that looks like this.
 |
| Two main panels - decorative front and plain back and two identical facings |
In case you missed the instruction last time - you should now overlock the side edges of both the main skirt pieces.
Don’t trim anything much off here - you are just trying to finish the edges, so don’t overlock the two pieces together, we’re not making a seam.
Next, on to the zip.
I am working with an 18cm zip.
(NB. If you are making an elastic waisted skirt you can forget this whole zip business, just make your side seams, tailoring the skirt to fit.)
I have tried putting the zip in two ways - the way shown in the Sew What Skirts book and an alternate way shown to me by the lovely Kathryn of Our Shabby Cottage.
 |
| This was using the Sew What Skirts method - it's not sewn as close to the zipper teeth as the one below. |
 |
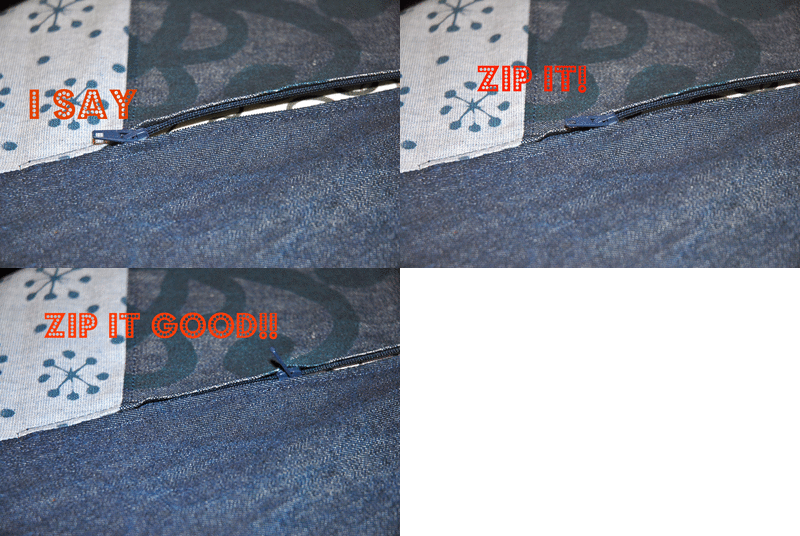
| This was using the 'Shabby Cottage' method - much better result, not as 'gapey'. (yes I'm sure that's a word!) |
I preferred both the result, and also the method, that Kathryn used - so that’s what I am going to show you now.
Take a deep breath - I promise you will be pleasantly surprised at how easy this is.
I prefer my zips to be in the left hand seam of the finished garment, so as you look at the skirt inside out you will now begin working on the right hand seam.
Trust me, when you turn it out the right way it will be on the left of the front panel.
Measure along your side seam and place a pin at the 19cm mark (remember an 18 cm zip is actually longer than this once you include the tape, the actual ‘teeth’ section is what measures 18cm).
Measure along your side seam and place a pin at the 19cm mark (remember an 18 cm zip is actually longer than this once you include the tape, the actual ‘teeth’ section is what measures 18cm).
Start by setting your sewing machine to a long basting stitch - so your longest straight stitch.
Now sew the seam using this long stitch until you reach the pin.
Don’t finish sewing here - just backtack to secure the end then stop and leaving the needle in the fabric, adjust your stitch length to a regular length, and continue to sew the length of the seam to the bottom of the skirt.
With your skirt still wrong side out, open the zip and lay the right hand tape, right side down over the seam so the teeth of the zip are lying along the seamline.
The top of the zipper tape, not where the teeth start, should be level with the top of the skirt, (if you have the teeth at the top you will find you have no seam allowance for attaching either a facing, bias or a waistband later.)
Pin the zip into place along this one side of the tape.
Before you sew make sure you have your zipper foot on your machine.
 |
| This is what my zipper foot looks like, get to know your feet - it really helps! |
Now starting at the waist of the skirt, sew carefully down the right hand side, keeping the foot running as close as you can to the zipper teeth.
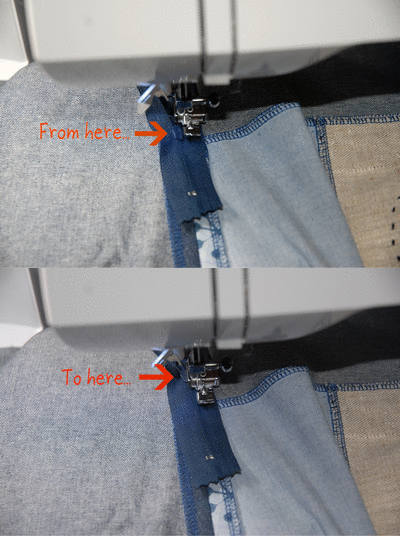
You will need to stop about 4cm from the end of the zip and move the zipper head so you can continue sewing.
To move the zipper head, stop sewing with the needle down, lift your presser foot and using your fingernail (or a pair of tweezers or a tailors awl) push the zipper head toward the waist of the skirt, closing the zip in the process.
Lower the presser foot and continue sewing to just beyond the end stop of the zip (this is the small piece of metal that marks the end of the zipper teeth.)
Again finish with the needle in the down position.
Lift the presser foot and turn the skirt 90 degrees so you can sew across the end of the zip.
Do this then turn the skirt 90 degrees so you will now be heading back along the opposite zipper tape toward the waist.
Check that the zipper teeth are lying along the seam line and pin the zip into place if you prefer, (I find it easier not to, but whatever makes it easiest!)
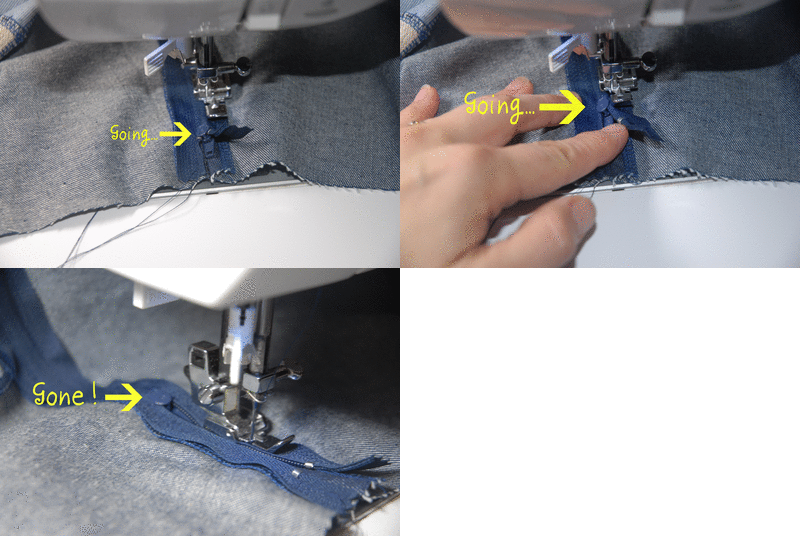
Sew along the zipper tape and when you reach the zipper head again leave the needle down, lift the foot and by putting your fingernail on the zipper ‘head’ push it along so it is clear of the foot.
Just like before...
Just like before...
Sew the remainder of the seam and backtack at the waist.
Phew - breathe out - all the hard work is done!
Now take your super-duper Clover seam ripper and, starting at the waist, gently remove the large basting stitches you put in earlier.


7 comments:
Thanks for that. I had to go watch Devo on you tube!
Okay, I am just completely bedazzled by your moving pictures....
I'm loving this sew along...even though I'm not participating! I plan on making one with some gorgeous Ink and Spindle fabric that I was given for my birthday last year. Thanks for the inspiration!
Ha, ha - love the animation.
We were actually listening to Devo when I opened up your blog post! Cue spooky music....
I finished my skirt last night, just couldn't wait! I've actually applied my zip to the outside this time as a "feature" - I'll take a photo of it for you. Just a bit of fun!
Love the moving pictures Karen. And your skirt is going to be gorgeous.
very good piccies Karen! your becoming a real tutorial wizz!
Awesome, glad you like my technique! Once you have done it once, it is a breeze and you will be sewing zips like there is no tomorrow!
Post a Comment