Showing posts with label Nikki M. Show all posts

Tuesday, 3 September 2013

Zipping along

Like many sewists, I've had a bit of a phobia about putting in zips.

There's just something about these long and slinky things that gets people nervous about fitting them properly.
But I am pleased to say that zippers and I are now friends, even more so since I recently completed Nicole Mallalieu's' Zippers for bags' class.

This class is done using the Large Tote pattern - it has lots of options 
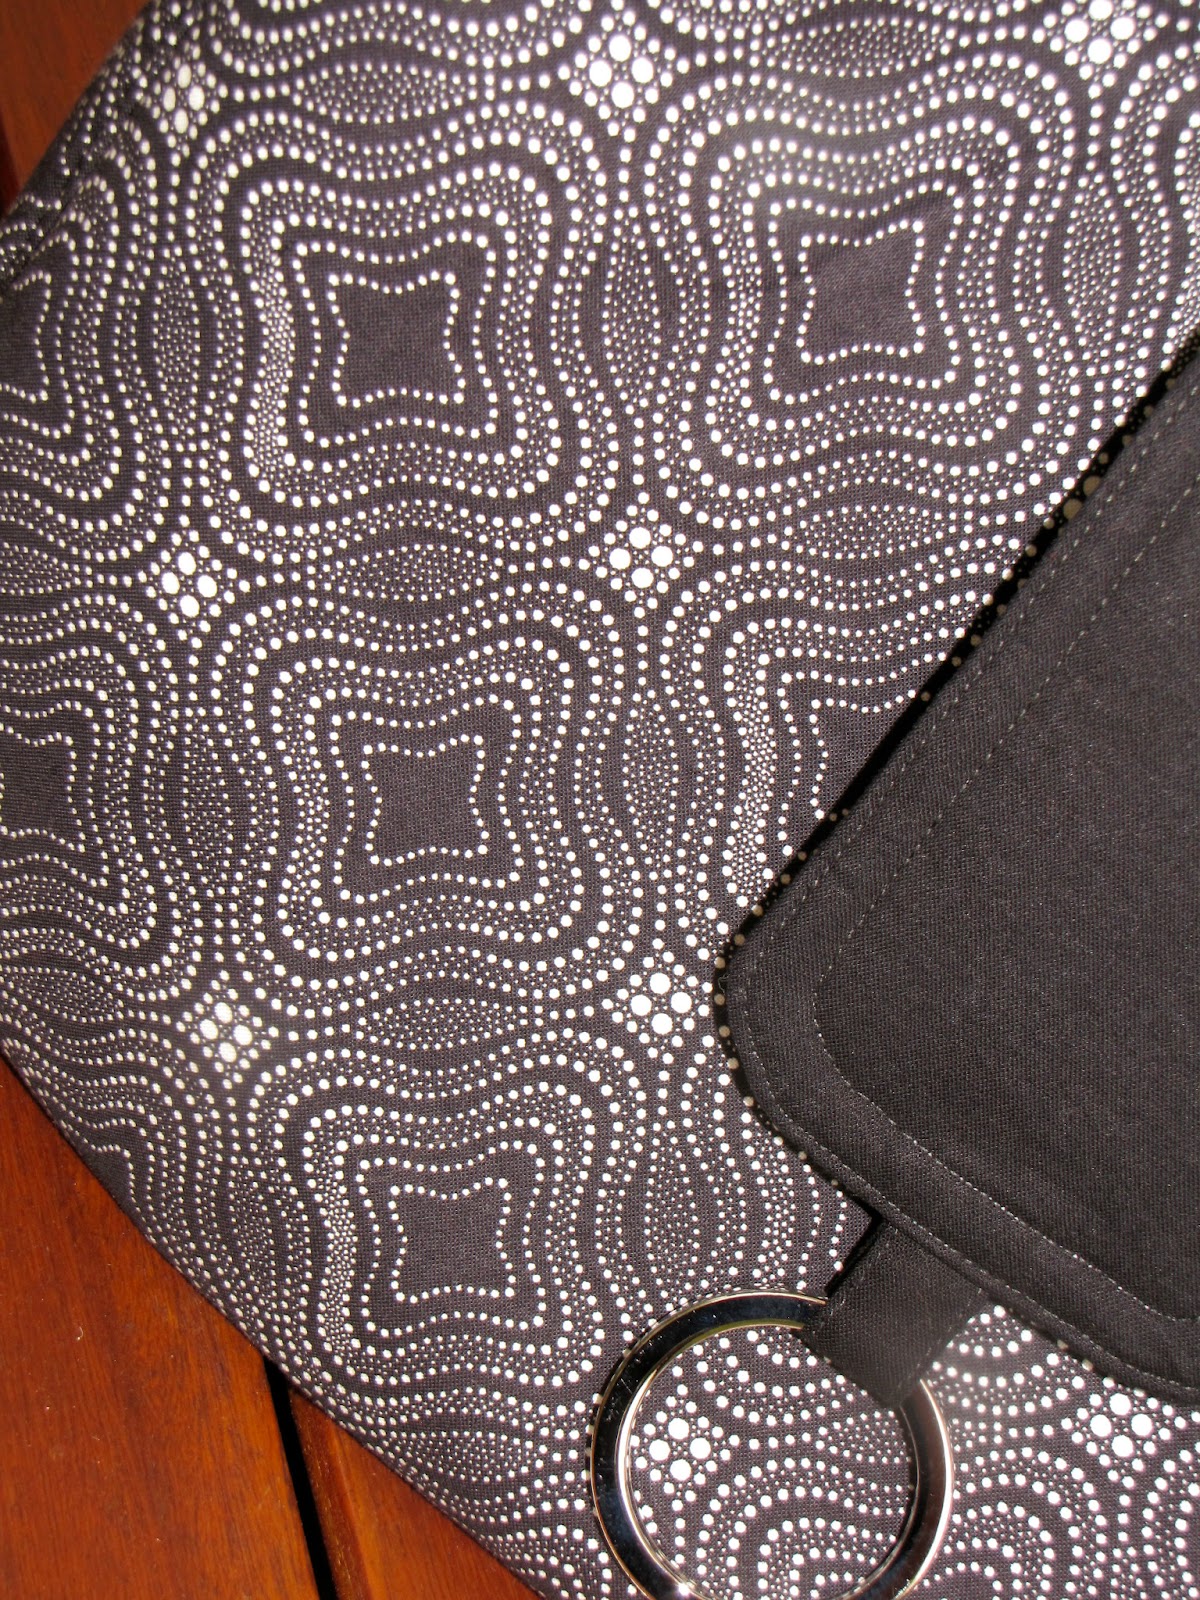
I learned how to put in all sorts of zips for pockets inside and on the outside of a bag as well as how to prepare a zippered gusset like the one above that will be installed on the top of the bag.
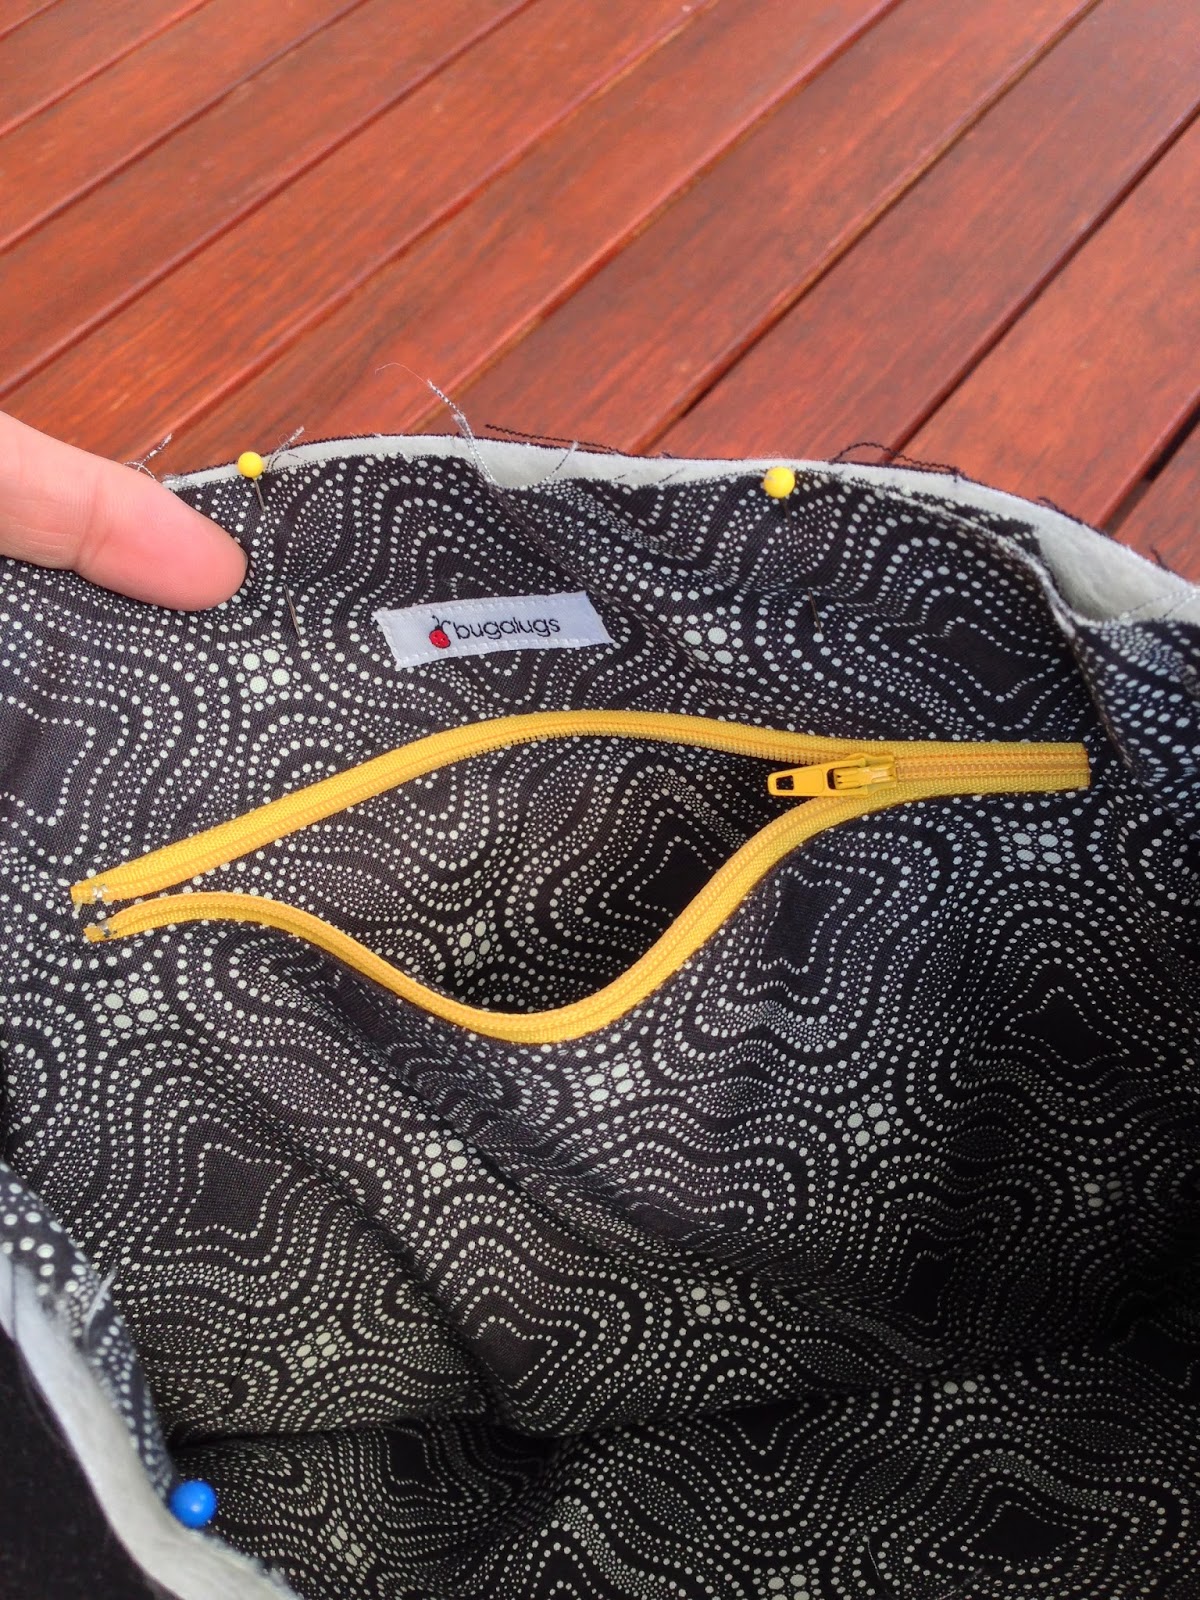
A pocket for small things that fall to the bottom of your bag!
We did this cute little exposed zipper pocket which is in the lining of the bag...

I put a pop of colour in these external pockets that you can only see when they are open
Simple exposed zipper pockets on the outside - and these were actually very simple to do!

I'm adding a zipper pull to this pocket, it's hidden away from view.
And also, my favourite, the Lapped Zipper pocket which hides under a small flap on the bag so from the outside you don't even know it's there.

I've made good use of the scraps from the cushions in my last post you can see!
There was also a zipped divider pocket which I didn't do as I felt this bag had enough pockets already!

Nikki gives simple to follow and clear instruction and guides you through the zipper applications of your choosing in the class and sends you home with wonderful clear instruction on how to do each one.

It certainly improves the final look of the finished products with lots of little tips and tricks for a great professional-looking finish.

She has another class coming up on Saturday 26th of October at GJ's in Brunswick.
Why not give yourself a treat and book in, you won't be disappointed.

Clearly I am not quite finished this bag but once I am done I will show you the finished version.

Monday, 26 August 2013

A coat for all seasons

Despite my lack of blogging, things on the sewing front have actually been quite busy around here.

Recently I had the pleasure of testing the All Seasons Coat for Nikki (Nicole Mallalieu of You Sew Girl) and I am delighted with the results.

A coat fit for a Princess.
I let the little Miss choose from my precious Heather Ross stash and she didn't disappoint with this Rapunzel fabric being her choice.

It's from the Far Far Away II range - so it's not a quilters cotton but rather a lightweight linen.
I am not sure, but I suspect that it's out of print now - I know it's pretty hard to come by in any decent amount.

I teamed it up with a Michael Miller dot - because I love a dot!

Perfect for watching ducks in, in any season!
This pattern is an absolute winner.
Nikki has designed the coat to be trans seasonal - so it can be worn through Autumn and Spring as well as Winter when appropriate.

It can be made with or without a belt and with or without a hood.
We went for collar, no hood, and belt.
The results is like a little trench coat - a stylish one!

A Princess on the pocket
The pattern calls for buttons or snaps - I went for snaps, particularly when I realised that buttons would have meant putting a buttonhole through the head of the Princesses I 'fussy cut' for the pocket flaps.

Snap closures and a belt keep the coat secure.
There are front facings, and a lining that doesn't peek out at the bottom of the coat because of how it has been designed.

Bright and fun on the inside.
I went for a splash of colour under the collar - just for fun.

The collar execution gives an excellent result
There are lovely little details like sleeve tabs that pull the sleeves in and shape them at the wrists.
The sleeves are made in two parts so they are beautifully shaped and are a dream to sew in.

Sleeve tabs are just one of the details included in the pattern
The pattern is available now and you can check out the stockists here, or grab a copy from Cam - the queen of customer service and speedy delivery.

As with all of Nikki's patterns, there are heaps of hints and new techniques excellently explained so you get a really professional result.

This pattern goes up to size 8 (I made it in a 7 so it will fit next year too).
If your daughter is larger than this, the good news is there is a 'Tween' size one in the works.

Grab yourself a copy and start making your fabric selections now.

Look mum, a waterhen!

Tuesday, 22 January 2013

Thoroughly Mod

So here at last is the second finished Mod - I did get it done in time for giving to the teacher - with a day to spare I might add!
The colour is a little more raspberry than these pics indicate, a lovely rich colour
I am really happy to report that both bags were very well received, the teachers at first a little taken aback when the girls started bragging that I had made them, which is a nice reaction.

When we left Miss L's teacher she had her head almost in her bag reading the personal ads and laughing.
I am also pleased to say she took them in the lighthearted way they were intended and was not offended, you never know...
This bag feel really lovely, so soft
Silver square-edged rings on the strap and front tab, again!
I carefully positioned a personal ad for a dog lover on the bottom of the bag as Miss P is a dog lover so I thought she'd find it amusing.
Internal zip pocket on one side for all the important, or personal stuff!
Working for the first time with microsuede provided me with a few challenges and lessons, the greatest of which is concentrate on what you are doing when fusing interfacing to the microsuede and don't get distracted by 'The Lord of the Rings"!!
Little zipper tab again - chosen by Miss L because as she told me, "I love Miss P".
It is a slow process bonding interfacing to a fabric such as this as you have to work slowly and carefully to avoid burning the fabric, or shrinking it.

I really enjoyed making the bag - but putting the interfacing on was a bit tedious, especially when I was dying to rip into the sewing!
Nikki advised me to accept the kind offer of use of an Elna press, as per the lovely Wendy, for the next time and that using a press such as this is a really great tool for bag preparation.
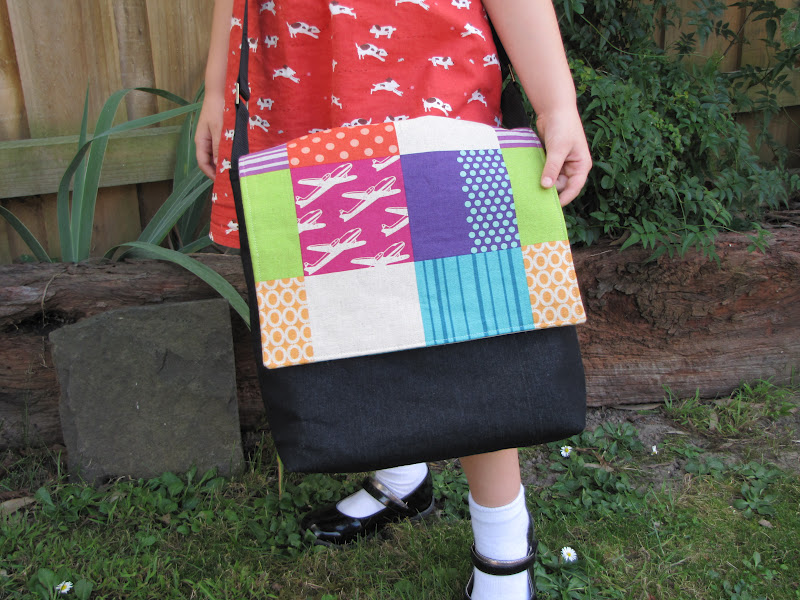
The details of what I used and where I got it are in this post in case you were wondering.
Lara's key tab idea again - I really wish my bag had one of these!
I was very grateful for my lovely new sewing machine, as at some points there were multiple layers of suede and interfacing to sew through - and I know my old machine would not have been strong enough to do it.

Sue of Millrose also reminded me that I should be using the dual feed function of the machine, sort of like a built-in walking foot, to feed these thicker layers through.
I was very grateful for this reminder as it made it even easier.

I haven't talked about it much but I am loving the new machine - it makes sewing even more of a pleasure and there are still so many things for me to learn.
Three internal pockets on one side that fit sunglasses and phone
The girls have been allocated their teachers for next year and we are delighted with who they both got as we have heard wonderful reports about them all.
I say 'all' because Miss L is in a class with a shared teaching position - two teachers who together make an amazing team - but that means only one thing to me - THREE TEACHER BAGS NEXT YEAR!!!! (from that year on really as Miss G will go the year after...)

Cam - you better start that bag challenge in about May this year to get me going early!

Saturday, 15 December 2012

Totally Mod

I should warn you that there is a bit of picture overkill coming up, so read on at your peril!

I originally posted back in July about joining in Cam's Bag Adventure by making bags for the girls' school teachers - starting them early so I wouldn't have to rush - blah, blah, blah!!

Anyway, fast forward to one week before school ends and I have one bag fully made and another nearing completion.
This bag was a bit of a step up in 'trying something new' for me - with a zippered gusset at the top and a curved outer shape.

So here's the finished product.

In case you missed the brief - this is Nikki's Mod bag.
I chose this because, well, I liked the look of it and hoped the recipients would too!

Heavy silver flat rings for the front tab and strap
I learned a lot making this.
I want to learn more about interfacing as I think that it is the key to getting the shape and feel of the bag right.
The interfacing I used for the flap was a little too heavy - so Nikki advised me to do a second row of topstitching - which helped immensely.

I wish I had styled this correctly because I carefully cut it so the ring sits centrally over the pattern!!
It's a roomy bag, perfect for lugging around all the things teachers might need as well as having room for their lunch if they like.

I made this one using fabric from the David Butler/Parson Gray range called Curious Nature and lined it with a very vibrant Lecien red dot.

I wanted a zip top so everything stays in  when you are on the move, I added the zipper pull to make it easier to use - they are easy to add and just give it a bit of a finished touch.

Clip off the existing pull and add one of these - easy!
Lara always puts in a key tag and I always wish I had one in my bag - so this one does.

So easy to add in - a piece of ribbon with a clip on it.
It also has three internal pockets on one side for sunglasses, tissues, phone or whatever else fits...

You can never have too many pockets I say!
And a zip pocket on the other side because it's handy!

My handy model showing the handy pocket!
I'm really very pleased with how this bag turned out, Nikki has a way of adding extras into a pattern that mean you end up with a product that looks professionally finished.

She helps you ensure your items look Handmade rather than Homemade if you know what I mean.

This fabric almost makes me dizzy at time!
Who knows, perhaps the lure of a bag could tempt some other lovely teacher to make the move to Melbourne...
This kid will need a Prep teacher the year after next if you're interested Annie...
Just had to include this so you could admire my Mod model's lovely foot positioning!!
Now working on the red microsuede version...
Stay tuned!

Sunday, 16 September 2012

Keeping it neat

My friend's gorgeous boy turned one today and along with a few things he will enjoy I included things to make his mum's life a little easier, and with four kids aged from six to one I am sure every little thing helps!

These little bibs were made using Nikki's Fabulous Fifties Bib pattern.


It's available as a PDF download so it's great for instant gratification!

The bib provides really full coverage so little people are less likely to end up wearing their food...


I lined it with some cotton waffle fabric and added an outside layer of plastic so it is wipe clean.

I have a third one nearly done for another friend - and it was such good fun choosing boy fabric combinations, something I don't get to do very often.


I chose not to add the optional pocket as I am not a fan of digging food out of a pocket, I'd rather just clean it off the floor later!
But I liked the way the contrast panel at the bottom looked so I still added that on.

And I did lengthen the ties at the neck by 5cm when I was making it.


It would have been a far more difficult process had I not been sent a walking foot from the lovely Carmel a while back - otherwise plastic can be a little troublesome as it sticks to the bed of your sewing machine.

To make it easier to sew when the entire piece of plastic is facing the bed of your machine - put down some baking paper and sew through it as you go - it just tears off later.

I do think a tailors awl when sewing binding is the way to go to get a good result.

These are a very sweet little gift and if you were making them as shown in the pattern with fabric and towelling backing they would sew up in no time at all.

Wednesday, 12 September 2012

The BEST DRESSed girl in town

The sun has been shining, we've been looking in the summery dresses for things to wear - and so here's something you haven't seen before...

I tested this pattern for Nikki back in the colder months and the small child is delighted to be able to finally wear it!

This is the Best Dress pattern - a divine dress for little girls that is modest, sweet and age appropriate, something that you can struggle to find these days - especially in store bought items.

Made with some Denyse Schmidt quilting cotton from Spotlight

As is always the case with Nikki's patterns - there are many different options you can choose from when constructing this dress.

You can select from a tie or belt at the back; pin-tucked bodice or no pin-tucks; full gathered skirt or flared skirt and cap or gathered sleeve.
Mix and match them to your heart's content and the options are endless.

This little dress has the pin-tucked bodice with the more full, gathered skirt and the gathered sleeve, and the tie in the back. 
It's a gorgeous girly dress; soft, feminine and sweet.

There's an invisible zip in the back and while I am (still) not a big fan of putting in zips, Nikki's instructions make it fuss free and this one very nearly is, invisible.

The pattern ranges from sizes 5 to 10 and it is definitely something you should add to your summer sewing list.

You can grab a copy from the lovely (and VERY efficient) Cam at Curlypops.

you won't regret it and your little girl will be able to twirl to her heart's content.

Check out Lara's winter versions here and some more that Nikki has made with different options here and here.

Thursday, 30 August 2012

Hot stuff!!

While I didn't get my Mod's x 2 finished in Cam's bag adventure, the event was just what I needed to get me into gear.

I've made really good progress on the first one and got all the supplies and hardware needed for the second, which brings me to the title of this post...

I was very keen to make a Mod like Nikki's - I love the look of that red microsuede and she says it's quite achievable, so I headed off to Rathdowne but found that the red microsuede is not exactly readily available, but rather hard to come by.


Several trips later - SUCCESS!!  They had just got a roll in and instead of the $75 per metre that Warwick fabrics would charge it was $35 - and as luck would have it they had 40% off furnishing fabrics - my lucky day.

It's Hot Stuff though - if you want some get over there soon... it wasn't a very big roll!

Then I found the perfect fabric to line it with.


This 'Love Classifieds' print is part of Spotlight's new newsprint range - just perfect for the young single teacher.

I hope she has a sense of humour as some of the ads are a little quirky!
I thought it would be fun, let's hope come the end of the year she agrees.

Monday, 27 August 2012

Petite satchel

This wasn't the bag I planned to make when I signed up for Cam's Choose your Own Bag Adventure - but I had forgotten I promised a birthday bag for another of my nieces (I have five of them!) - so I had to get that done first!!


This is Nikki's Small Tote made as a satchel.

It's the little sister to the bag I made myself a little while back, the perfect size for an eight year old.

While it doesn't look square in these shots I can assure you it is!
The colours are not at all what I would have gone with but the recipient was most adamant about her choices so I went with them.

The flower is a brooch - so she can leave it on or take it off as the mood suits her, I just thought it needed a little something on the front to break the solid 'dotty' effect!
Still not sure if it's a bit much - but the new owner can decide...


Inside I put a zippered pocket and I have also made a very basic zip coin purse for her because everyone needs a purse in their bag.

It also has a magnetic clasp hidden in there - I need to practice these a bit more - and it looks like I will get plenty of opportunity to as I have requests for three more of these! (surprise, surprise!)


Constructing this bag was made easier with the assistance provided from my AMAZING new steam iron.

Many thanks to the very kind enabler who put me onto a great deal for this lovely new gadget, it makes the finish on things incredible.

I know Lara is enjoying hers too and if we all bring them along to Sewjourn later this year we might just have our own steam room!!

Sunday, 22 July 2012

In the bag

Cam has been planning a sewalong for August, and this one I am definitely going to be in.

She's called it the "Choose your own bag adventure".


I've been gathering supplies from here, here and here.

And looking here for inspiration, and here of course.

It's my attempt to get something ready early - really early. The first of the bags for the teachers.

The black is from the Parson Gray 'Curious Nature' range and it was Brianna who inspired it with this quilt she made at Sewjourn.

I'm using the red for the lining - nothing like a pop of colour to brighten up the inside of your bag.

I plan to tackle a few new things with this bag - such as adding a zippered inner panel/top to it, so it can actually be zipped shut. So I want to take some time so I don't have to rush.

Want to join in??
There's plenty of time - and Cam has a great range of Nikki's patterns in her shop.
I can tell you from experience she will get yours to you super-quick and it will be beautifully wrapped too.

Go on, be brave!

Wednesday, 28 March 2012

Something for me

Seems you can teach an old dog new tricks...

Echino pink planes patchwork fabric from a few seasons back
With lots of great hints and tips on how to get a professional finish from Nikki, here it is, my new satchel bag.

The small kid strutting her stuff
As anyone with small kids knows, being able to have your hands free (to hold theirs at the lights) is a very handy thing - so an over the chest bag works best for me.

Ta Dot -a pop of colour is a bit of fun for the lining
This bag has an adjustable strap so when I am out pretending to be a grown-up I can shorten the strap so it is a shoulder bag.

Black stretch denim base and an adjustable black web strap
I couldn't be happier with how it turned out.
There are one or two things I would do differently, but that's just part of learning, and as this is my first 'real' bag I am more than pleased to figure some of those things out when I make the next bag.

Rectangular brass fittings from Nikki M
Even though Lara has made lots of bags, this was her first course with Nikki and she said she learned heaps.

She also said that it is a good idea to do a course at the start of your bag making career so you don't pick up bad habits you may have to correct later!

The same under the flap
I think a bag is a great gift.
Practical and 'pretty' at the same time.
Also you can really reflect the person and their essence in the style and colour of bag that you make.

Zip pocket for keys and a magnetic catch to keep it closed
I have plans for a few more later in the year.
I think Lara's idea of giving them as a gift to the teachers is a really great one that I might just 'adopt' - if she doesn't mind!

I did plan to put extra pockets in the lining of this one, but got all excited about nearly being finished and made up the lining forgetting all about them!

Nikki's bag making courses sell out quickly - so keep an eye on the schedule here or on her Facebook page.
Definitely money very well spent.

Friday, 23 March 2012

Old dog, new tricks

We'll see if you can teach an old dog new tricks tomorrow when I get to spend a day luxuriating in the company and talent of these three lovely ladies, as well as meeting a few new sewing aficionados.


Nikki will, of course, be teaching me how to actually make a start on this project that I have had planned in my head for most of the, oh, about two years, since I bought the pattern from her...

She has assured me that it is not scary and will, in fact, be fun!

Wish her luck!!

Sunday, 2 October 2011

Nikki is a genius!

It would come as no surprise to anyone who has made one of Nicole Mallalieu's many bag/purse or hat patterns that her A-line skirt pattern would be very well put together.

I did a sewalong a while back using the "Sew What' skirts book but if I had this pattern at that time it is what I would have used for all of them - without a doubt. 


The skirt just 'fits', the way a skirt should! 
No gaping waistline, no big bumps over the bum - everything clean and comfortable and correct - just the way I like it!

I know I will be getting lots of wear from this skirt this summer.
I adore this fabric, it's from the Amy Butler 'Love' range. 

I intended it to be a tunic but felt the motif's were too large once I got it and I was worried where on my chest those large medallions may have ended up...


The only dilemma - what length!!???
The bottom of this skirt is simply overlocked ready for me to hem - but at what length??

Let me know your skirt length thoughts - how much should I be taking off the bottom???

Oh, and please excuse the fact that I should have ironed this before I showed you...

Do yourself a favour and grab this pattern - then make 'em plain, make 'em panelled, make 'em long make 'em short!
It's all you need to get your summer wardrobe sorted.

Thursday, 21 July 2011

It's love!

Love Chirps actually.

That's what the fabric used for this little vest is called.
It's by Farbenmix and I got it a while back from Crafty Mama's, I'm not sure that it's still available.

We've been waiting for the right project for it and so when I asked Miss L to choose some fabric for a new vest she went straight to it.


This is the Kid's Vest from Toni's book, I made it a little larger than the size five thinking she needed it. Looking at her she probably didn't, but at least it will last a while now, and it's roomy and comfortable.


Instead of lining it with pellon or batting I just used polar fleece for the inside fabric, so it's lovely and snug - just what you need for keeping your back warm on these frosty days.

There are a few rows stitched across it to give it a quilted look, and in the second pic you can see the cute zipper pull I got from Nikki's shop
You should grab yourself some - they are a sweet little touch to finish off a project - we have a small collection of them.

This is a quick and easy vest to make and it is great for 'dressing up' some plain old jeans and a long-sleeved top for a day at the park or kinder.

The zip is a bit bright but there was nothing to match the light blue, so I went for a contrast.
Nothing like a pop of colour to make you smile.

I hope there's some colour in your day.